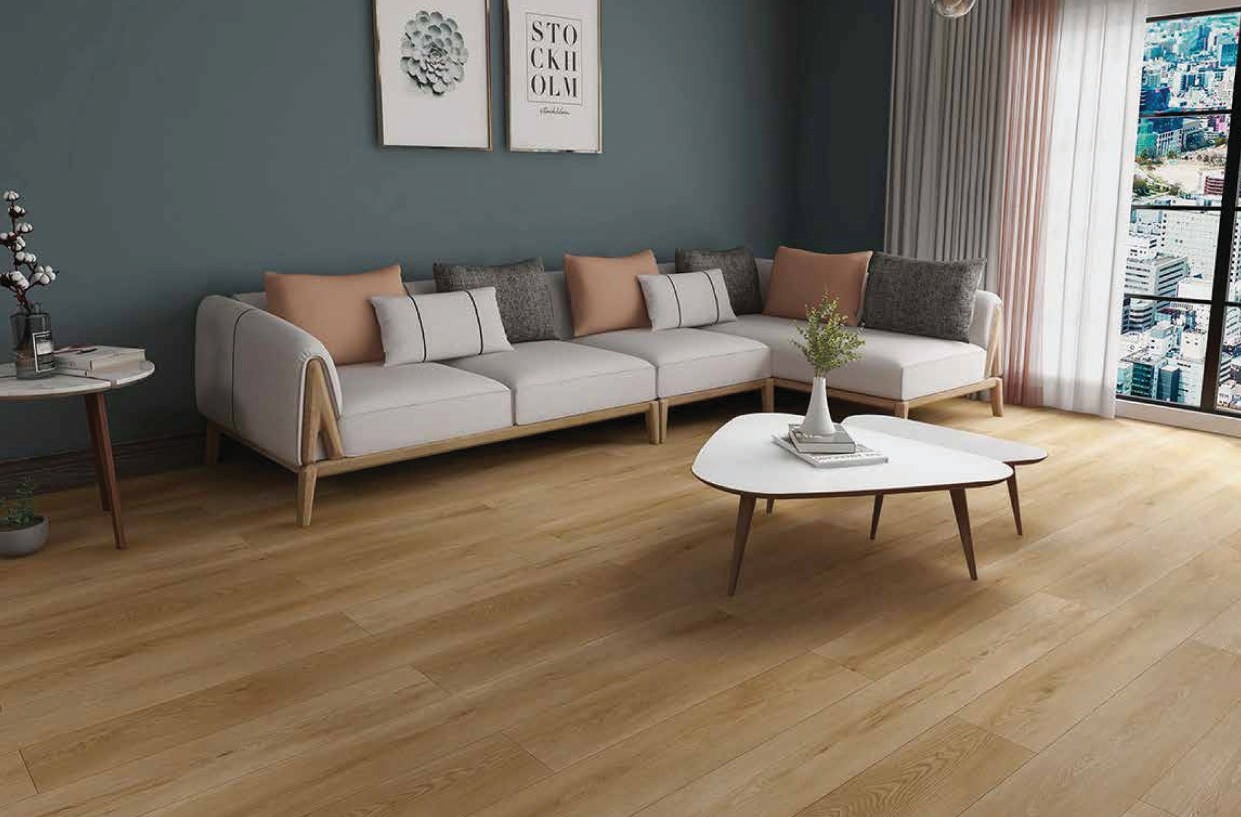
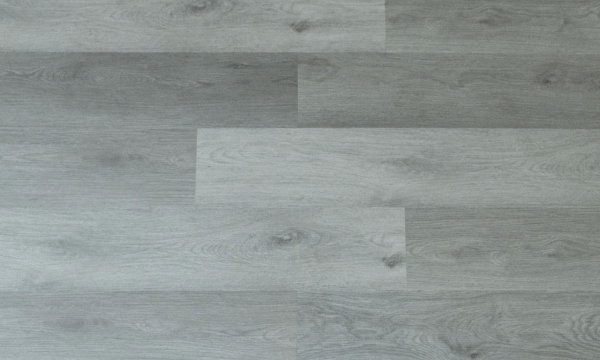
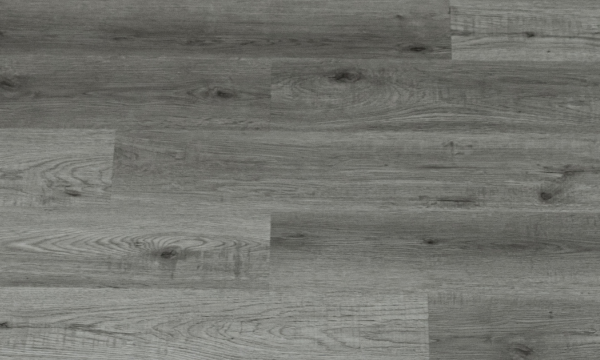
SPC PLANK COLLECTION

Eco friendly. 19 toxic heavy metals free, 40 phthalates plasticizer free, formaldehyde free, extremely low TVOC emission, REACH Certified.
Stain resistance. Unique coating system makes it stain resistant, anti-bacterial and easy to clean and maintain. E.g., cleaning oilg pen marks is a breeze of wind.
Resistance to cigarette burnsExceptionaI base panel composition contributes to cigarette burns resistance property, making the flooring last for years.
100% waterproof. A revolutionary composition made of polymer nano materials and natural inorganic compounds amplifies its waterproof property. Patented extra tight click prevents water from penetrating through the joints
Size 1220*180*0.3/5+1mm.
Warranty 10 years Residential and 5 years commercial.
| REQUIREMENTS | PD VALUES | TEST METHOD | ||
|---|---|---|---|---|
| General Appearance | Openings between elements, (o) Height difference between connected elements, (h) Flatness of the element - in the length, (fl) Flatness of the element - in the width, (fw) | o average ≤ 0.15 mm o max ≤ 0.20 mm h average ≤ 0.10 mm h max ≤ 0.15 mm fl concave ≤ 0.50 % fl convex ≤ 1.00 %M fw concave ≤ 0.15 % fw convex ≤ 0.20 % | o average≤0.04mm o max≤0.06 mm h average ≤0.05mm h max≤0.06mm fl concave≤0.00 % fl convex ≤N/A % fw concave≤0.02% fw convex ≤N/A % | ISO 24337 |
| Dimensional stability due to variation of temperature | ≤0.25% | Length average-0.05%Width average-0.05%Curling average 0.10mm | ISO 23999 | |
| Color fastness | Cycle A1, Method 3 | N/A | Grade 6 | ISO 105-B02 |
| Abrasion resistance | Method AMethod B | ≥ 4000 cycles AC4≥ 7000 cycles | >4000 cycles>7000 cycles | EN 13329EN 15468 |
| Micro-scratch resistance | Procedure AProcedure B | ≤ MSR-A2≤ MSR-B2 | MSR-A1MSR-B2 | EN 16094 |
| Impact resistance | Big ball | ≥ 1800 mm | 1800 mm | EN 13329 |
| Effect of a furniture leg | N/A | No damage shall be visible, when tested with foot type 0 | No visible damage | EN 424 |
| Castor chair resistance | N/A | 25 000 cycles, No damage | Pass 25000 cycles | EN 425 |
| Thickness swelling | Length direction Width direction | ≤ 12 % | 0.04% | ISO 24336 |
| Locking strength - long sideLocking strength - short side | N/A | fl0.2 ≥ 2.0 kN/mfs0.2 ≥ 3.5 kN/m | 6.125.69 | ISO 24334 |
| Resistance to staining | group 1 and 2group 3 | Grade 5Grade 4 | Grade 5Grade 4 | EN 438-2 |
| Additional features if applicable | ||||
| U-Protect - resistant to oil-based marker | N/A | Rating 5 (No change) | PD internal method | |
| Phthalate content test | 0.10% | Not detected | EN 14372 | |
| Heavy metal migration | Limit 10mg/kg - 100mg/kg | Not detected | EN 71-3 | |
| SVHC (Substance of very high concern) | Report limit 0.05% (whole product) | Not detected | REACH | |
| IIC (Calculated Impact Insulation Class) | N/A | 54 | ASTM E492-09 | |
| STC (Calculated Sound Transmission Class) | N/A | 53 | ASTM E90-2009 | |
| Slip resistance | N/A | Rating 10 | DIN 51130 | |
The installation instructions of SPC flooring
Before installation
Installation tools
Horizontal ruler, pry-bar, nail-free glue, glue gun, rubber hammer, tape measure, gloves, knife, plastic-tapping
Before installation
1. SPC flooring requires an ideal temperature of 15-28°C continuously throughout the entire year. SPC flooring can't be installed outdoor.2. Acclimatize SPC flooring for a minimum of 24 hours. We recommend you open the package until time of installation at a temperature of 15-28°C.
3. The subfloor must be flat, meeting a minimum of 2mm within 2m.
4. Subfloors must be clean and free of dirt.
5. Leveling subfloor with 1:1-mixed water and cement by coating 100-150 grams per square meter.
6. Dry it for at least 24 hours until the subfloor is completely dry.
4 Install underlayment.
Note: it's installers' responsibility to carefully inspect ALL material prior to installation for color/texture/finish/profiling. Start the first row with at least 8mm-12mm expansion space from the wall.To finish the installation
When installing floors around comers, trim floors to the right shape before installation.
To install floors at L-shape corner
Insert spacers at the corner.
Parallelly place the board to be installed. Mark and trim out the L-shape.
For final board in row, use a pry-bar to pull it tight and lock the end profile.
The summary
The subfloor must be flat, meeting a minimum of 2mm within 2m.
The subfloor should be free from waves or convex. Inspect each plank. Make sure that no damaged board is installed.
DO NOT use too much force when tapping the boards together, as this may damage the locking profile.
Use rubber hammer
SPC flooring can't be installed outdoor, nor can it be installed in environment with fluctuated temperatures, say 15°C changes in 24 hours.
SPC flooring can't be installed in the environment where any chemical solvent or corrosive liquid is used.
1. An expansion space of 8mm-12mm or 0.25% of the length size is required between flooring and any other fixed object. When length/width of the room exceed 10m, you need to install a T-molding middle room to allow the floor to naturally expand or contract with seasonal changes.
2. Insert spacers at walls to maintain the expansion space between the flooring and the wall.
3. Working from left to right, assemble the end joints by inserting the tongue on the short side of the panel.
4. When reaching the end of the first row, install the plank so that the groove faces the last plank and cut the plank as necessary to fit and finish 8mm-12mm from opposite wall
5. Continue to install the second row by angling the tongue on the entire length of the second row into the groove on the long side of the planks of the first row. DO NOT use too much force when tapping the boards together, as this may damage the locking profile.
6. Continue to finish the installation with above method.
Installation Method for Long side of Flooring
Closely place the Plate B to the Plate A and C. Insert Plate B' short-side tongue into Plate A's groove.
Slightly lift A and B at an angle of 20-45 degree and lower them into place.
The installation instructions of SPC for wall- Preparation before installation
pull bar, knife, glass glue, nail-free glue, hammer, glue gun, ruler, plastic-tappingp
first step check the wall whether it is flat or not, which requires that differences than 3 mm every 2 m must be rectified (measured by feeler). The second step, Open the package and check the floor whether it is damaged, install from bottom to top, right to left (corner priority),
Use nail-free glue on the back, press the board on the wall for 10 seconds, then click the second piece with the first short end. The third step, when installing the last piece of the first row, we need to measure the part left by reversing the flooring. Using the knife to cut and install. The fourth Step 4, the profile is installed after the floor installation is finished.
Accessory Install
All the wedges are removed after the installation finished.
Then the profile end should be cut by 45 degree and glue on the back of profile and press on the wall.
Our Products
- P2211
- P2222
- P2233
- P2244
- P2255
- P2266
- P2277
- P2288
- P2299
- P3311
- P3322
- P3333


