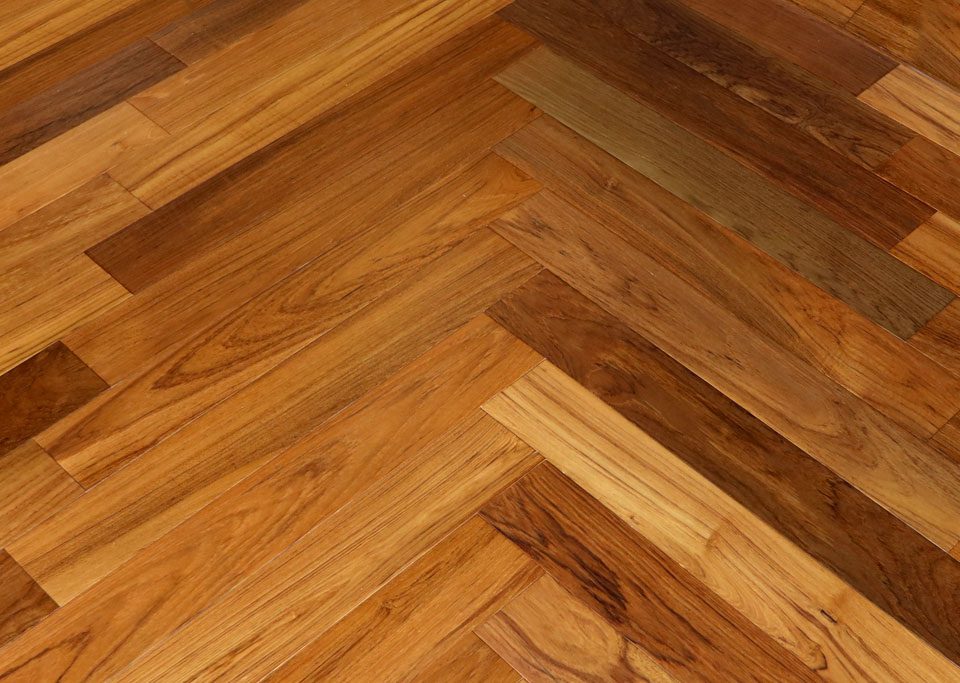
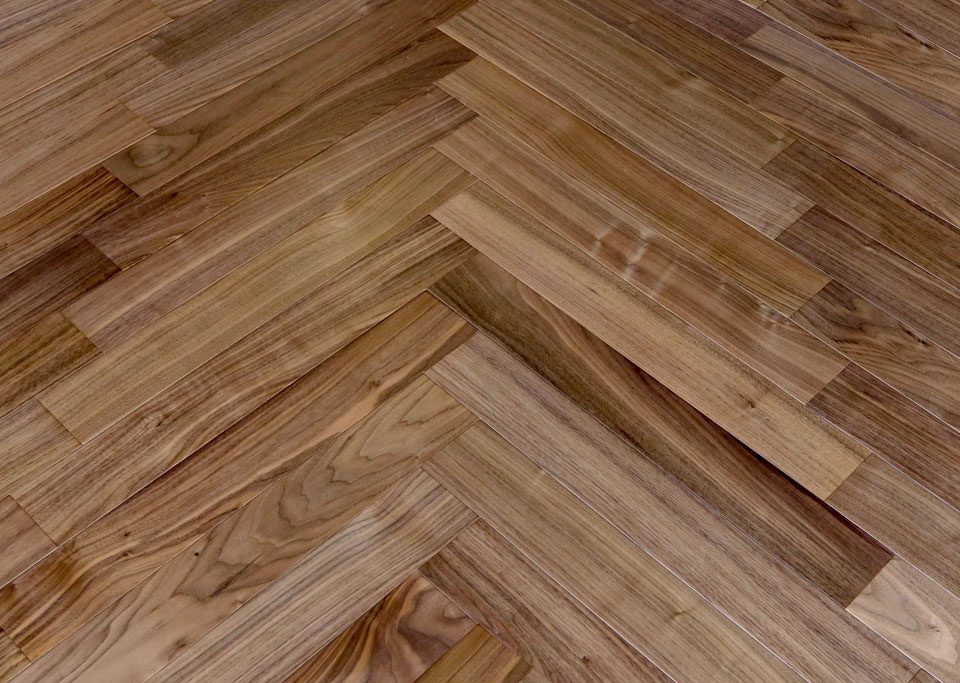
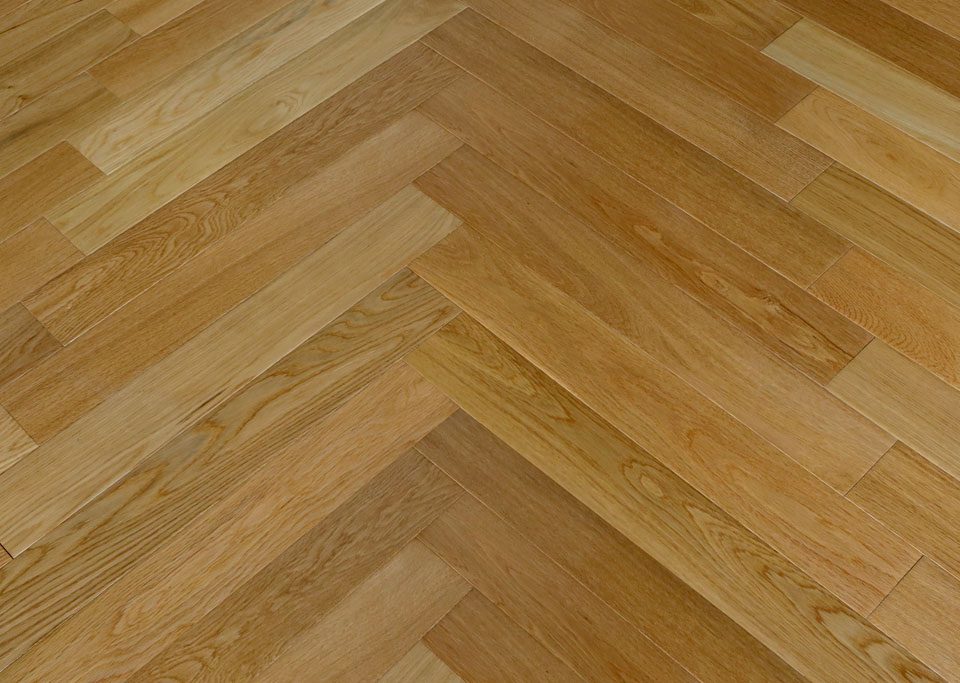
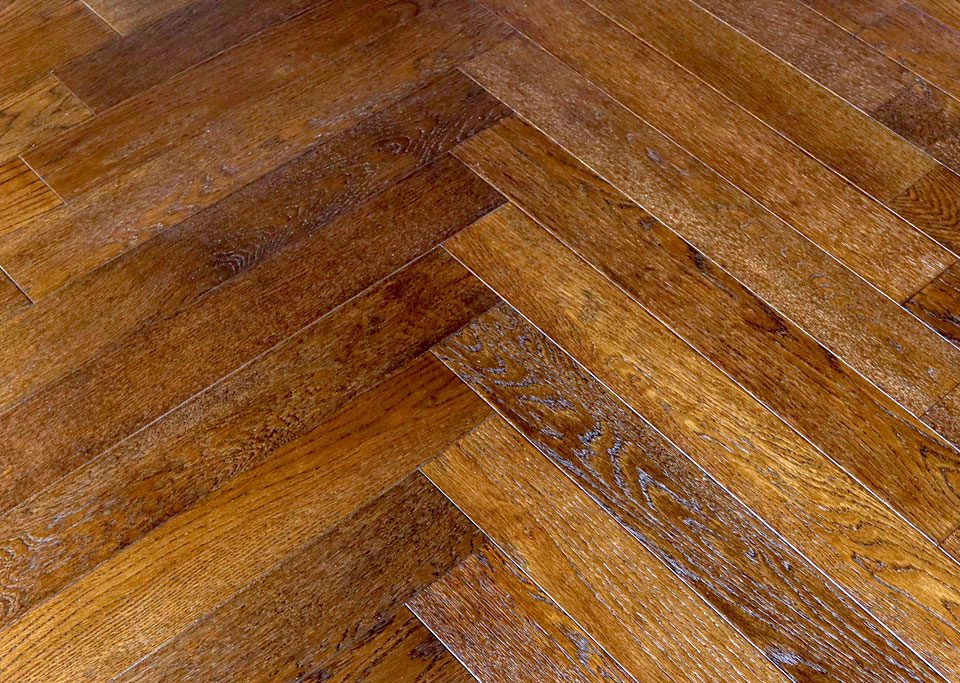
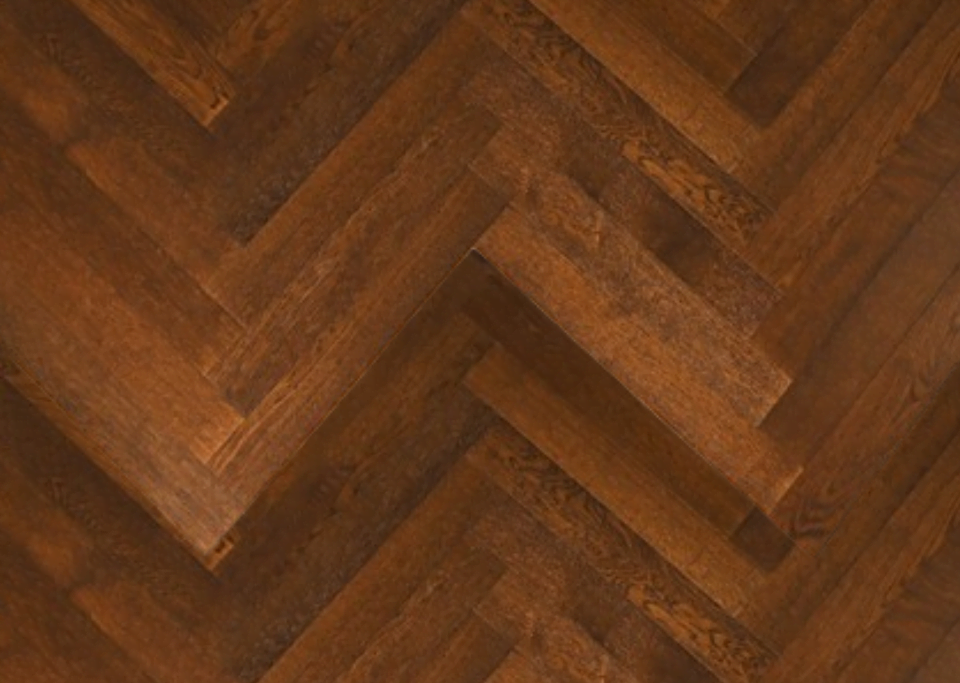
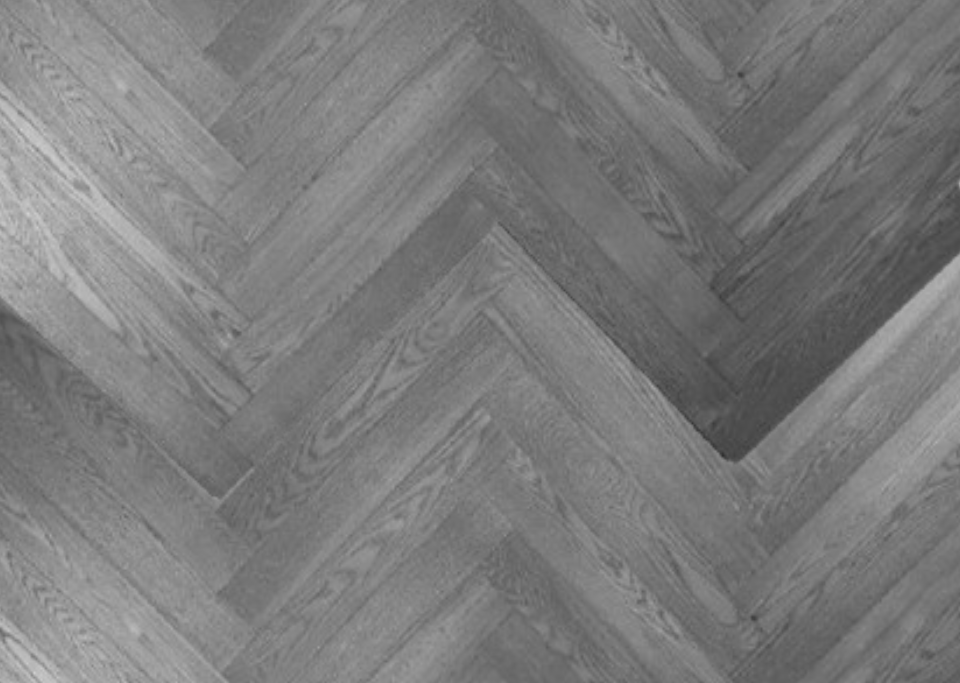
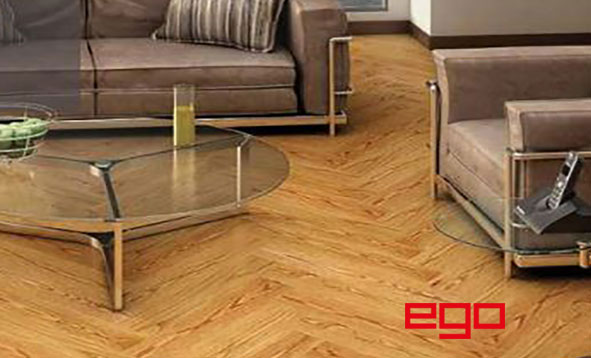
Herringbone Collection
Introducing the Herringbone Collection from Ego Premium - a flooring solution that combines traditional European floor patterns with modern design techniques. Herringbone patterns are created by alternating rows of strip flooring, resulting in a visually stunning effect that adds depth and texture to any space. The installation process involves laying each piece individually, forming several unique patterns that are distinct and eye-catching. Plus, with the option to install in a linear form like any other solid wood flooring, the Herringbone Collection from Ego Premium offers versatility and functionality. Choose from six distinct shades that are sure to make a statement in your home or commercial space.
"Unleash the Classic Elegance of Herringbone Flooring, Crafted to Impress and Built to Last"
Slim collection products are made of finest material and with advanced technology
Clic System
Lab-designed protection layer on the bottom
Extremely stable performance, providing a perfect base for your home
An engineered wood flooring collection with a total thickness of 15mm and top layer being 2mm Specs - 15(2+11+2)*90*600mm
| ITEM | REQUIREMENT | RESULT | BACKER |
|---|---|---|---|
| NUTS | SINGLE MAX DIAMETER, MM | 4 | 50 |
| HOLE | SINGLE MAX DIAMETER, MM | 2, NEED FILLED | 15 |
| LIGHT BARK | SINGLE MAX LENGTH, MM | 30 | NO LIMITED |
| SINGLE MAX LENGTH, MM | 4 | ||
| DARK BARK | SINGLE MAX LENGTH, MM | 15 | NO LIMITED |
| SINGLE MAX LENGTH, MM | 2 | ||
| RESINOCYST, RESIN CHANEL | SINGLE MAX LENGTH, MM | 5<1 | NO LIMITED |
| COLOR CHANGING | LESS THAN PLANK AREA, % | 20, COLORS OF SURFACE IS COORDINATED | |
| CRACK | NOT ALLOWED | ||
| ASSEMBLE GAP, HORIZONTAL | SINGLE MAX WIDTH, MM | 0.5 | |
| SINGLE MAX WIDTH,LESS THAN LENGTH OF PLANK,% | 20 | ||
| ASSEMBLE GAP, VERTICAL | SINGLE MAX WIDTH, MM | 0.5 | |
| BUBBLE DELAMINATION | NOT ALLOWED | ||
| EDGE MISSING | NOT ALLOWED | ||
| LACQUER BUBBLE | <0.5MM | LESS THAN 3 FOR EACH PLANK | |
| PIN HOLE | <0.5MM | LESS THAN 3 FOR EACH PLANK | |
| MOISTURE CONTENT | 8-12% | Average 8.8% |
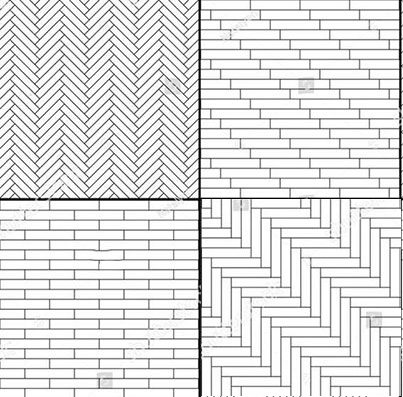
HERRINGBONE INSTALLATION
Prepare the sub floor:
Concrete slab – Check the slap to see that it is properly constructed and thoroughly dry. Check for unevenness, grind off high spots, and use filling compound for low case.
Plywood subfloors – It should be at least ¾* thick and nailed down well. Tough standing may be required at joints to even out surface. Where the subfloor is too uneven , apply 3/8* plywood underlayment.
Board subfloor (up to 6’ square edged) – They require good nailing. If uneven, boards may require standing. Nail 3/8* plywood underlayment on boards.
Start installing flooring at intersection of all working lines. ( The selected center point of a Herringbone unit will be along the centerline. )
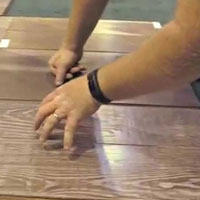
1. Place the first piece of flooring. The tongue edge of the piece should face the far wall, with the tongue edge along the starter diagonal. The left corner of piece#1 should be allined with the intersection of the reference line and baseline.
2. Place the second piece. This piece must be perpendicular to the first piece. Use a small carpenter’s square to ensure precise alignment. These two piece determine the squareness of the entire installation. After a piece has been placed in the mastic, there can be minor adjustments in alignment by tapping the piece with a rubber mallet or similar non-marring instrument.
3. Continue placing the pieces in the order. Continue with the pattern until reaching the far wall. Then work the pattern to the right, one row at a time, alternating the direction of the flooring. (Always orient the tongue in the same direction.) Start each row carefully. Use the square to align the starting piece on each row and periodically check alignment. Leave piece that fit along walls as the last step.
Layout of the room:
1. Check the room for squareness, measure the diagonals of the room. If they are equal, the room is square.
2. Herringbone is, at best, a difficult pattern to ut down. Two things must be considered when deciding on the orientation of the Herringbone pattern.
a. The long dimension of the room.
b. The pattern running to the major architectural interest point oof the room, like the main entrance, window wall, or a fireplace.
3. Pre-plan your working lines. It is usually best to center your first line along the orientation of the pattern.This is called the “centerline.” Plan the layout
4. Upon completing the upper right quadrant, go back to the intersection of the working lines and complete the upper left quadrant one row at a time. Carefully align the first piece of each row and periodically check alignment with the carpenter’s square. Alternate the direction of the flooring in to the work area. Store it on areas already completed.
5. Continue in the two remaining areas. Start at the centerline and continue working the pattern backwards.When installing the pattern backwards it is easiest to maintain alignment by coming back with double rows. The first double row back into the lower left and right quadrant will be aligned with the reference line. After completing the first double row, continue installing two rows at a time until reaching the left wall. Finish lower right quadrant in the same manner , working from center too walls.
6. Cut pieces to within ¾ * of the walls. This ¾* is expansion space. Fir flooring into doorways where it is to butt against other flooring, or against a reducer strip. Leave ¾* expansion space around masonry structures, such as a fireplace. (This void can be filled with a solid piece of crok and stained)
7. Use spot cork blocking around the perimeter of the room between the flooring and the walls, to allow the flooring to expand and contract. (Do not use flooring scraps.)
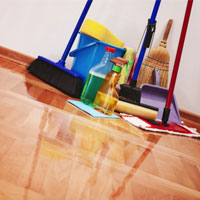
Do's
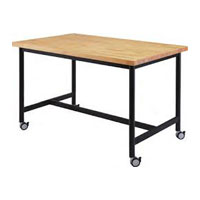
Support furniture and heavy appliances with wide-bearing, on-staining glides or casters.

Move appliances / furniture by sliding them slowly over the floor on a clean piece of carpet turned upside-down.

Place area rugs in high traffic concentrated area to make long term maintenance easier and less expensive.
Dont's

Do not wax the floor.
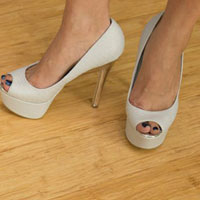
Avoid spiked-heel shoes, pebbles and other abrasives.
Do not use steel wool on the floor.
Do not use soap or detergents on the floor and never pour water directly on to the floor.
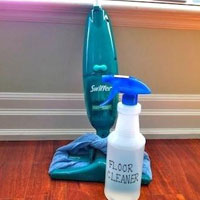
Do not use ammonia-based cleaners.
Do not use extremely wet mop to clean the floor .